.jpg)
Da bottoni a cornici in miniatura! Foto-tutorial dopo il salto

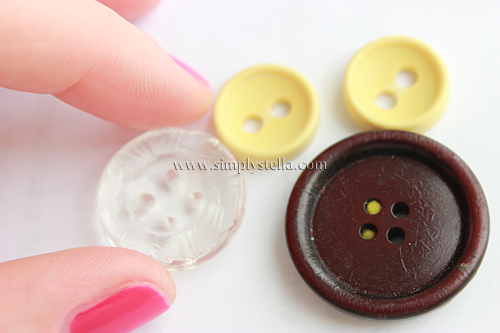
Primo passo: scegliere i bottoni! Vanno bene di qualsiasi forma o dimensione, l'importante è che abbiano una "cornice" esterna un po' in rilievo rispetto alla parte centrale.

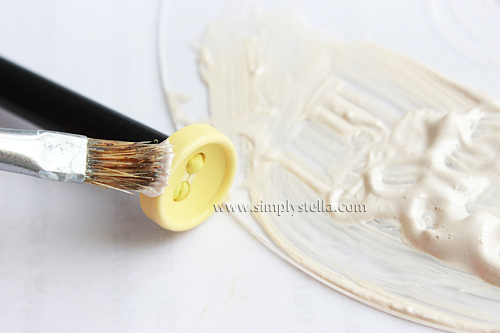
Se non vi piace il colore del bottone potete ridipingerlo (se possibile, meglio di quanto abbia fatto io
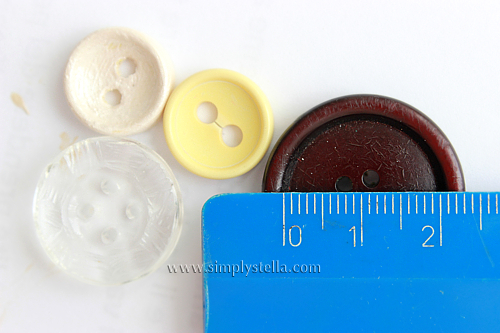
Misurate il diametro della parte interna del bottone..
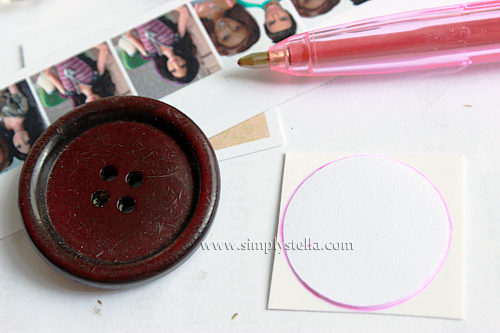
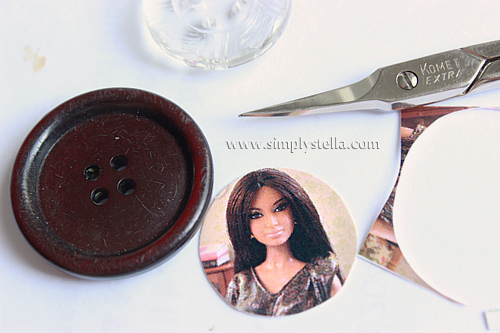
..a questo punto, potete stampare delle foto (o magari usare foto da riviste!) e tagliarle; io ho disegnato dei cerchi della misura di ogni bottone su della carta di brutta, e poi li ho usati come 'template' per ritagliare le foto.
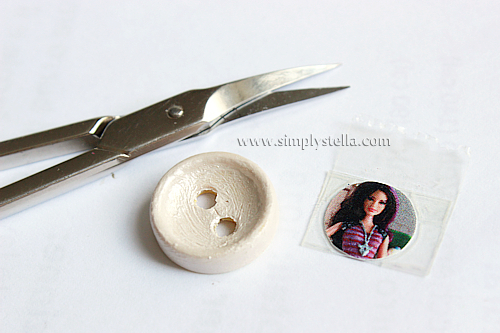
Ricoprite la foto con del nastro adesivo trasparente per darle l'aspetto lucido (come se ci fosse davanti il vetro della cornice..) e tagliate via le parti di scotch in eccesso. Ps: io ci ho pensato solo dopo averle fatte tutte, ma forse è più comodo ricoprire le foto con il nastro e tagliarle dopo, così si evita il doppio taglio
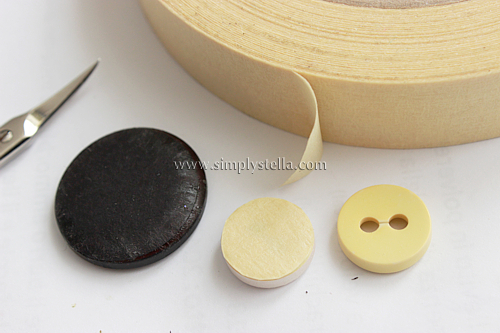
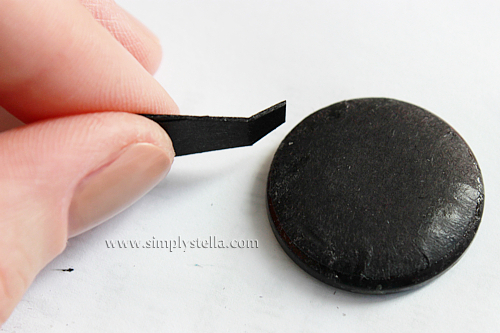
Per il retro della cornice, ho usato del nastro da mascheratura. E' l'ideale perchè è molto morbido e segue la forma del bottone come un guanto, ed essendo di carta potete colorarlo facilmente con dei pennarelli
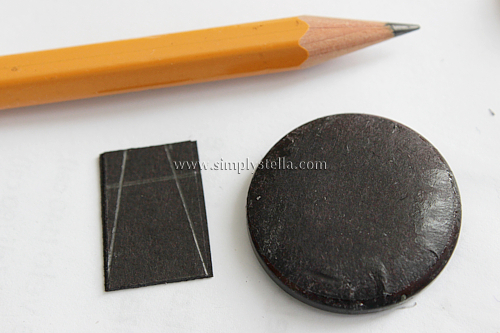
Disegnate su un pezzo di cartoncino un.. ahem... triangolo senza punta? Oddio avrei dovuto stare più attenta durante le lezioni di geometria, che ignorante
Ritagliatelo e piegate la parte superiore, poi incollatela al retro del bottone, nel centro.
.jpg)
Le cornici possono anche diventare delle sveglie se al posto della foto usate la stampa di un quadrante d'orologio
.jpg)