 |  |
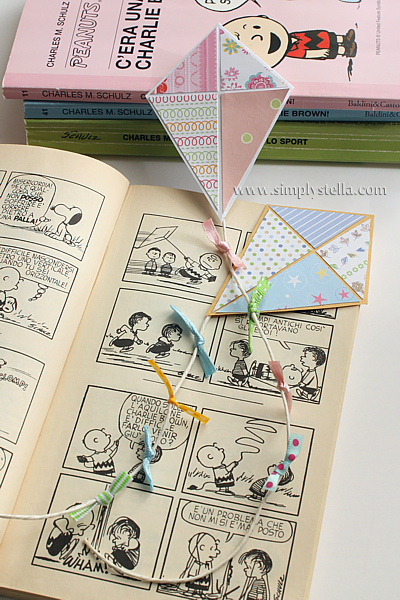
Cos'è un segnaquilone? Ma un segnalibro a forma di aquilone, ovviamente! (Sono da ricovero...
 )
)Ho visto qualche giorno fa questo tutorial linkato su Deviantart, mi è piaciuta subito l'idea del segnalibro "angolare" fatto con una busta da lettere e ho provato a rielaborarlo

Dopo il salto, trovate il tutorial per imparare a realizzare i vostri Segnaquiloni © personalizzati!
Learn to make your own with the step-by-stp tutorial, right after the jump. Use the Translator in the side bar to read this site in your language!  |
Cliccare sulle immagini per ingrandirle / Click on the pictures to see them full size
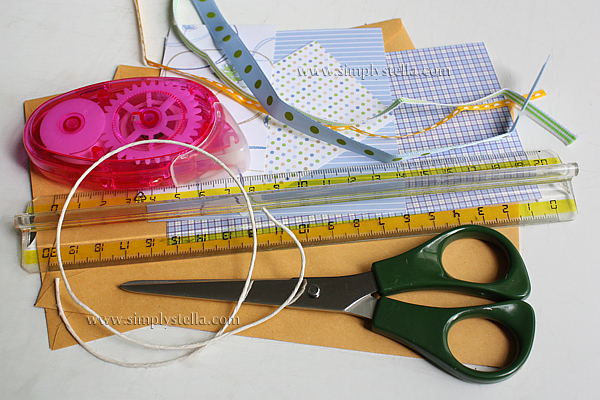
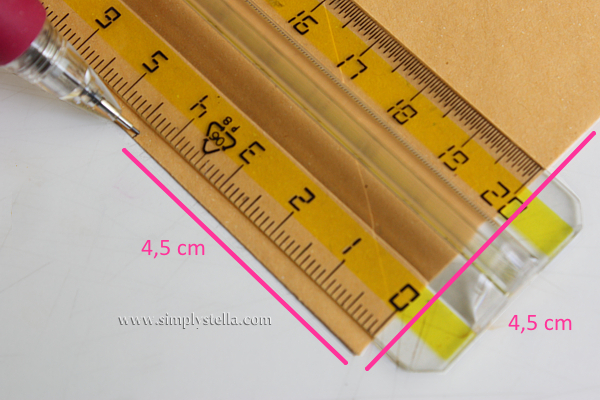
Cosa serve: una busta da lettere (bianca o avana), spago sottile, forbici, colla a nastro (va bene anche la stick), righello, matita, nastro adesivo di carta, ritagli di carta decorati o colorati (da collage o da scrapbooking) e nastrini di stoffa.
 |  |  |
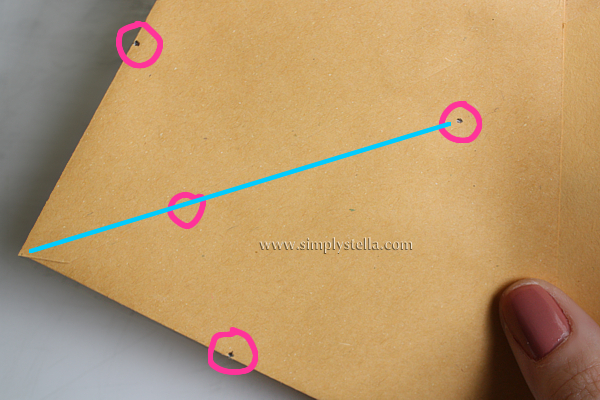 |  | 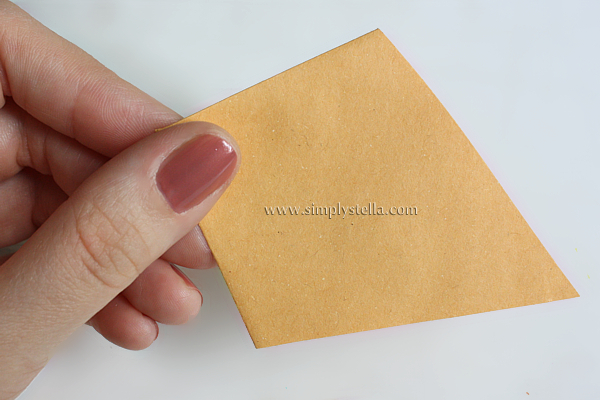 |
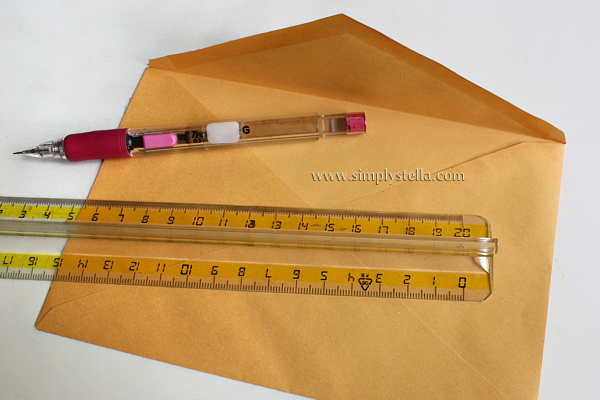
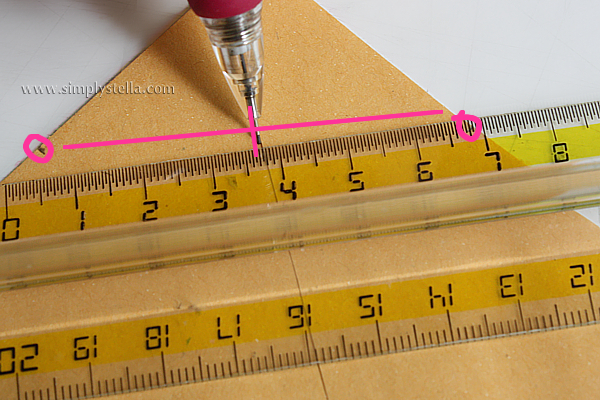
Usando il righello, tracciate una linea immaginaria (XD) lunga circa 8cm, che parte dalla punta dell'angolo e passa per il punto centrale che avete segnato prima. Fate un'altro segnetto; poi unite i segnetti con due linee e tagliate il rombo così ottenuto.
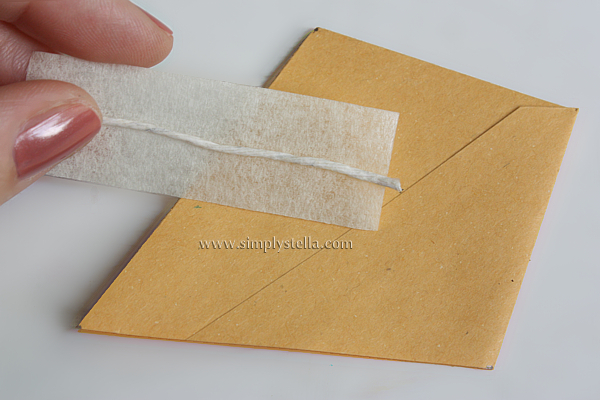 | 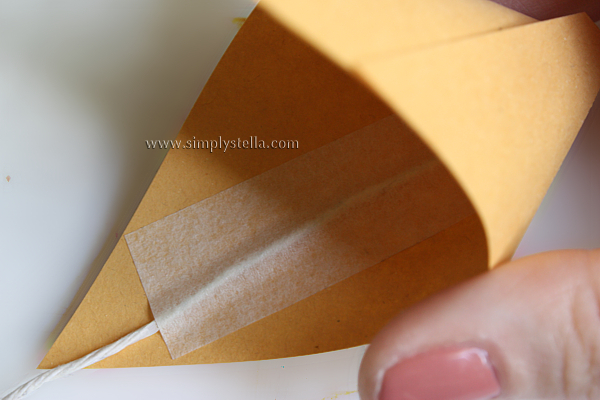 |  |
Attaccate un pezzo di scotch di carta allo spago, poi attaccate lo spago all'interno del rombo. Tagliate via la punta del rombo sul retro del segnalibro.
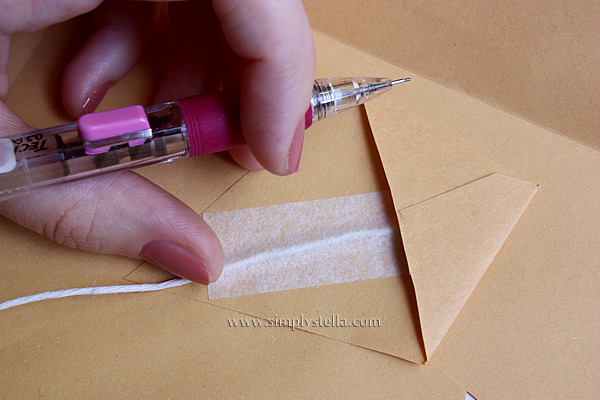 | 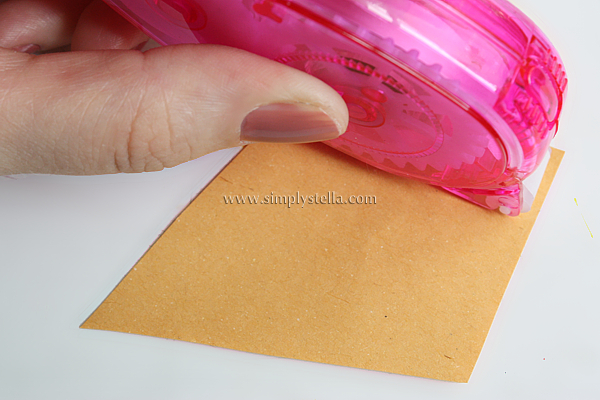 |  |
Aiutandovi con il rombo gia tagliato, ricalcate la sagoma sul quello che resta della busta, tagliate all'interno delle linee (deve essere un po' più piccolo) e infine incollate il secondo rombo all'interno del primo, per coprire lo spago.
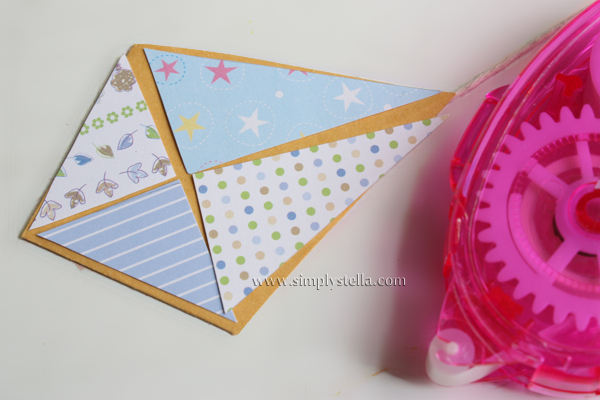 |  |  |
Tagliate quattro triangolini di carta decorata, facendo in modo che formino un rombo più piccolo di quello fatto con la busta. Incollate la carta lasciando un po' di spazio tra ogni pezzetto.
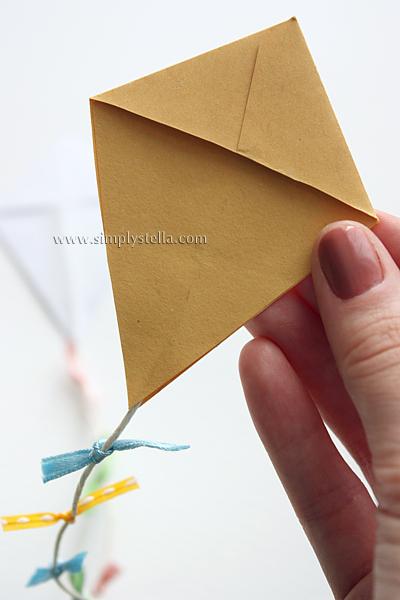
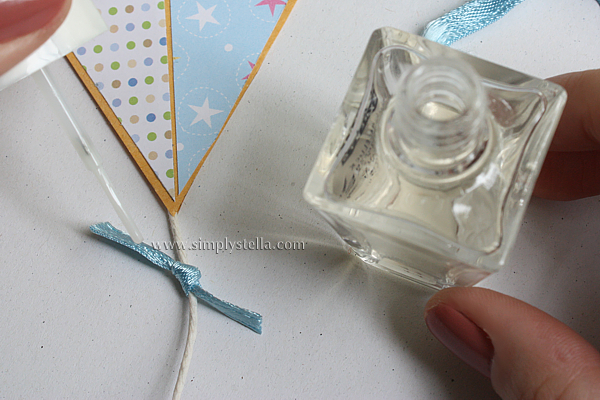
Dopodichè, prendete i nastrini e annodatene piccoli pezzi di vari colori lungo lo spago. Fissate le estremità dei nastri e dello spago con una punta di smalto trasparente.
Take the ribbons and tie them to the cord, alternating colours. Secure the edges of the ribbons and cord with some clear nail polish. |
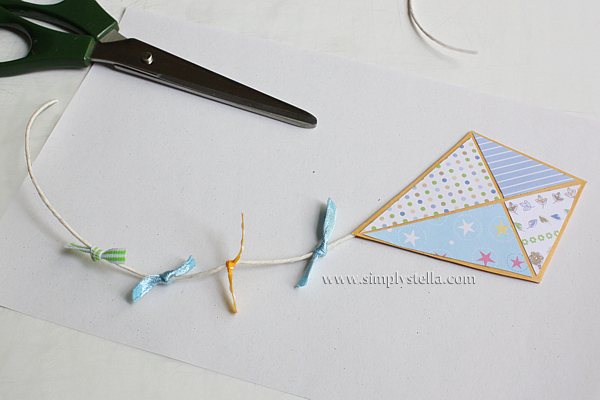
Tadààààà! Il vostro segnaquilone è pronto!